Anoraks Corner
by Tony Sale
Return 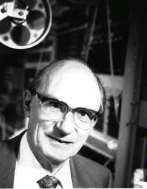
Tony Sale's
Codes and Ciphers
Anoraks Corner
Return |
Tony Sale's Codes and Ciphers |
| This page was originally created by the late Tony Sale the original curator of the Bletchley Park Museum |